Scenario Dialogs
Scenario Dialogs is a unified workspace for handling chats in ChatApp.
Messages from connected channels are collected in one place, so managers don’t need to switch between messengers.
To receive messages in Scenario Dialogs, a channel must be connected to a line.
You can open Scenario Dialogs in two ways:
1. In the ChatApp dashboard — go to the Scenario Dialogs section in the left menu
2. Via the link dialogs.pro — on first login, enter your ChatApp credentials
(This option is more convenient for everyday use — you can pin the tab and quickly return to your chats.)
Step 1. Click “Add dialog” → “New dialog”.
Step 2. In the “Line” field — select a line.
Step 3. In the “Messenger” field — select a channel.
Step 4. In the “Assignee” field — select the responsible user.
Step 5. In the “Number / Username” field — enter the client’s phone number or username.
Step 6. Enter your message. Add emojis or attach files if needed.
Step 7. Click “Start dialog” — the chat will open.
Send a template message in a new chat
Step 1. Click “Add dialog” → “New dialog”.
Step 2. Go to WhatsApp Business → in the “Line” field — select a line.
Step 3. In the “Messenger” field — choose Official WhatsApp.
Step 4. In the “Assignee” field — select the responsible user.
Step 5. In the “Client phone number” field — enter the phone number.
Step 6. In the “Select template” field — choose a template and fill in variables.
Step 7. Click “Start dialog” — the chat will open.
Send a template message in an existing chat
Step 1. Open a chat in the Official WhatsApp channel.
Step 2. Click the “#” button → “Template messages”.
Step 3. Select a template, fill in variables, and click “Send”.
The template message will be sent to the current chat.
Step 1. Click “Add dialog” → “New dialog”.
Step 2. In the “Line” field — select a line.
Step 3. In the “Messenger” field — choose Email.
Step 4. In the “Assignee” field — select the responsible user.
Step 5. In the “Email” field — enter the client’s email address.
Step 6. In the “Subject” field — enter the message subject.
Step 7. Write your message and click “Start dialog”.
Step 1. Click “Add dialog” → “Create group”.
Step 2. Enter a group name → choose an avatar.
Step 3. Enter a message — it will be sent when the group is created.
Step 4. In the “Line” field — select a line.
Step 5. In the “Messenger” field — select a channel.
Step 6. In the “Assignee” field — select a user and click “Next”.
Step 7. Add participants: contacts can be found by phone number or username.
❗Only contacts with existing conversations in Scenario Dialogs can be added.
Step 8. Click “Create” — the group chat will open.
Open the participant list → “Invite participant” → select a participant.
Only users with existing conversations in Scenario Dialogs can be invited.
Copy group link:
Open the participant list → “Invite participant” → click the link button.
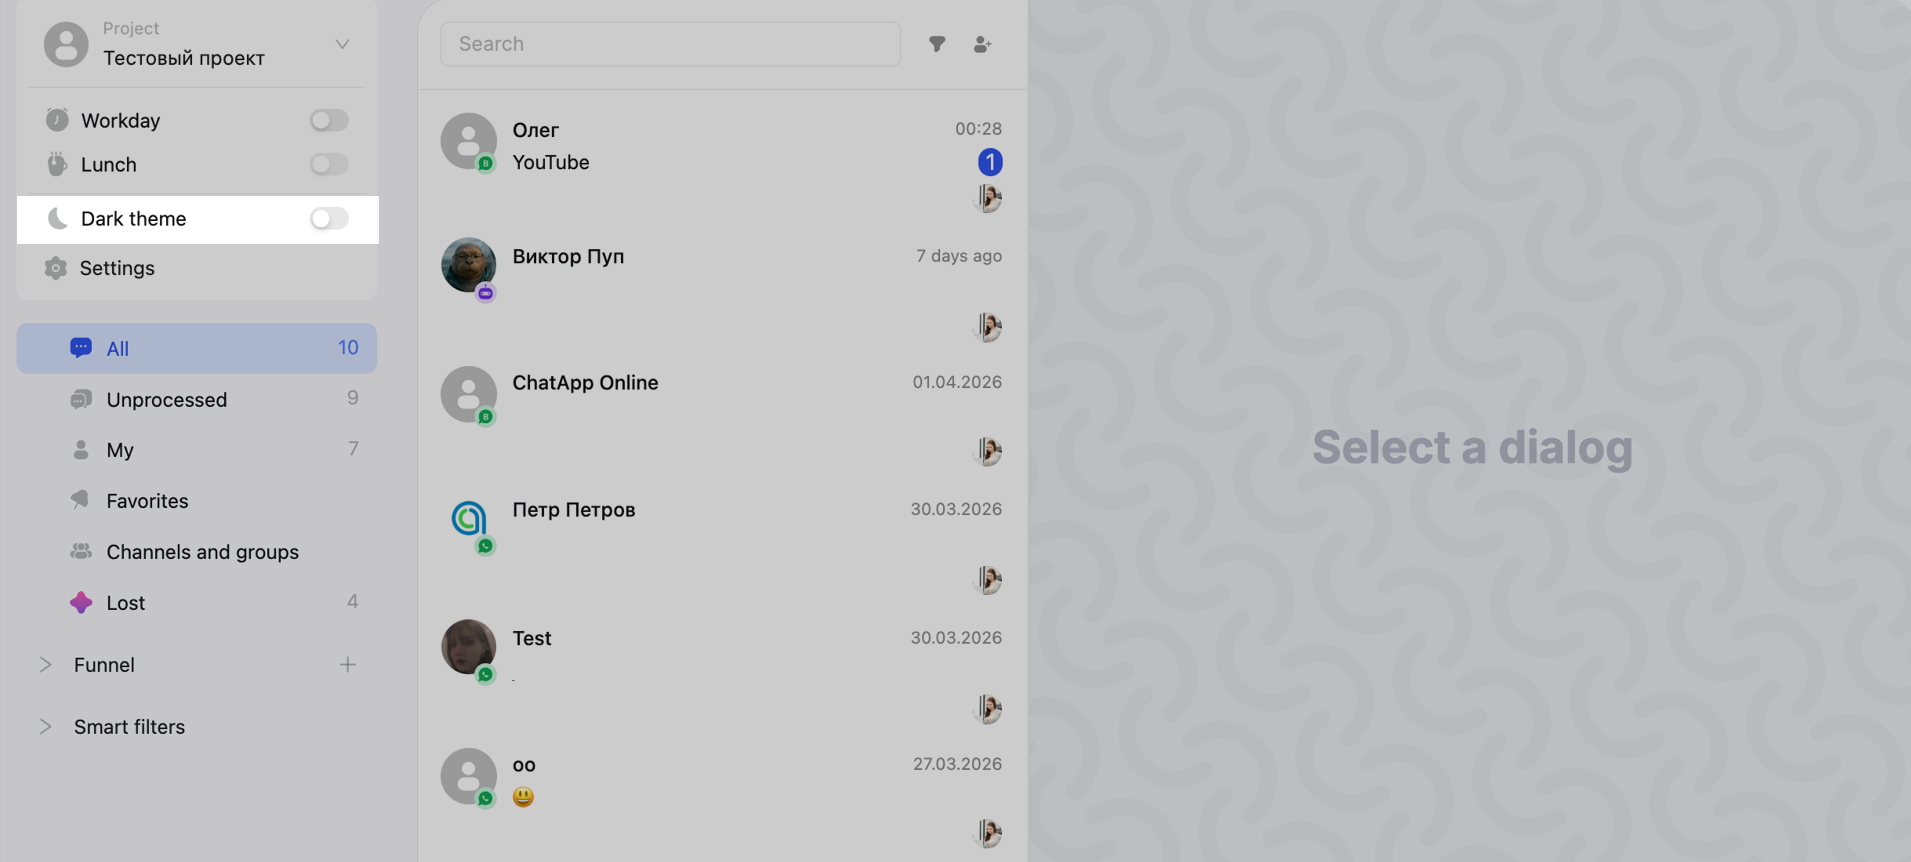
Dark theme in Scenario Dialogs
• “Message” — visible to the client
• “Note” — internal comment (not visible to the client)
Notes are highlighted in yellow. Quick note — type / before the text.
Tools
• AI / 💠 — text generation, Scenario AI assistant tools
• #️⃣ — quick replies and WhatsApp templates
• 🌐 — translate text before sending
Text formatting
• bold, italic, strikethrough, quote, code block (also via shortcuts)
Files and media
• 📎 — attach files (images, documents, videos) or drag & drop
• 😊 — emojis
• 🎤 — voice messages
Right-click a chat to open the menu:
— open dialog in a new tab
— mark as read / unread
— pin chat (appears in “Favorites”)
— disable system messages
— block chat
System messages are service events (e.g. chat opened, closed, assignee changed, etc.)
Message context menu
Right-click a message:
— reply
— copy text
— forward
— delete
If a client deletes a message:
It remains in Scenario Dialogs but marked as “deleted”.
If you delete a message in Scenario Dialogs:
It is deleted for the client and marked as “deleted” in the system.
— WhatsApp Business API and WhatsApp Cloud API
— Instagram and Facebook
— Email and Viber Bot
The profile shows:
— client name (editable)
— chat ID (used in automations)
— phone number and username (if available)
— “+New tag” — create a tag for the dialog
“Information” section
— marketing consent — shows if the client agreed to receive messages
— line — communication line
— comment — internal info (visible only to staff)
— “Add field” — create custom fields
Client data can be automatically saved via the Dialogs.pro block in the bot builder.
“CRM Data” section
Displays linked entities: leads, deals, contacts, companies, tasks.
You can open or create CRM records — they will sync automatically.
(Available after CRM integration setup.)
Contact details of the client
Go to CRM card from client profile
You can assign managers with different roles in chats:
By default, the ChatApp account owner is assigned to chats.
To distribute chats, configure “Dialog distribution”.
Roles:
— Assignee — main responsible
— Initiator / Co-assignee / Observer — additional roles
Permissions are configured in ChatApp settings.
Mobile app
Install the app to reply on the go and avoid missing messages.
Notifications
Notifications are disabled by default — enable them to stay updated.
Unread counter resets only after replying.
To reset it when opening a chat, change notification settings.
Additional features
Scenario Dialogs also includes:
— search and filters (smart filters, folders)
— tags for segmentation
— quick replies
— profile and notification settings
— chat distribution
— mobile app
— dialog funnel management
— chat history import
— sending messages with buttons
— file storage specifics
— marketplace chats (Wildberries, Ozon)
— Scenario AI assistant — helps generate replies