Widget 2.0 for website
Widget 2.0 is a tool for combining communication channels into a single element on a website.
The widget allows you to:
- connect messengers;
- add social networks;
- specify email;
- add phone numbers;
- collect UTM tags;
- record the page of the website from which the client
- initiated the interaction.
Widget creation
- Open your ChatApp personal account.
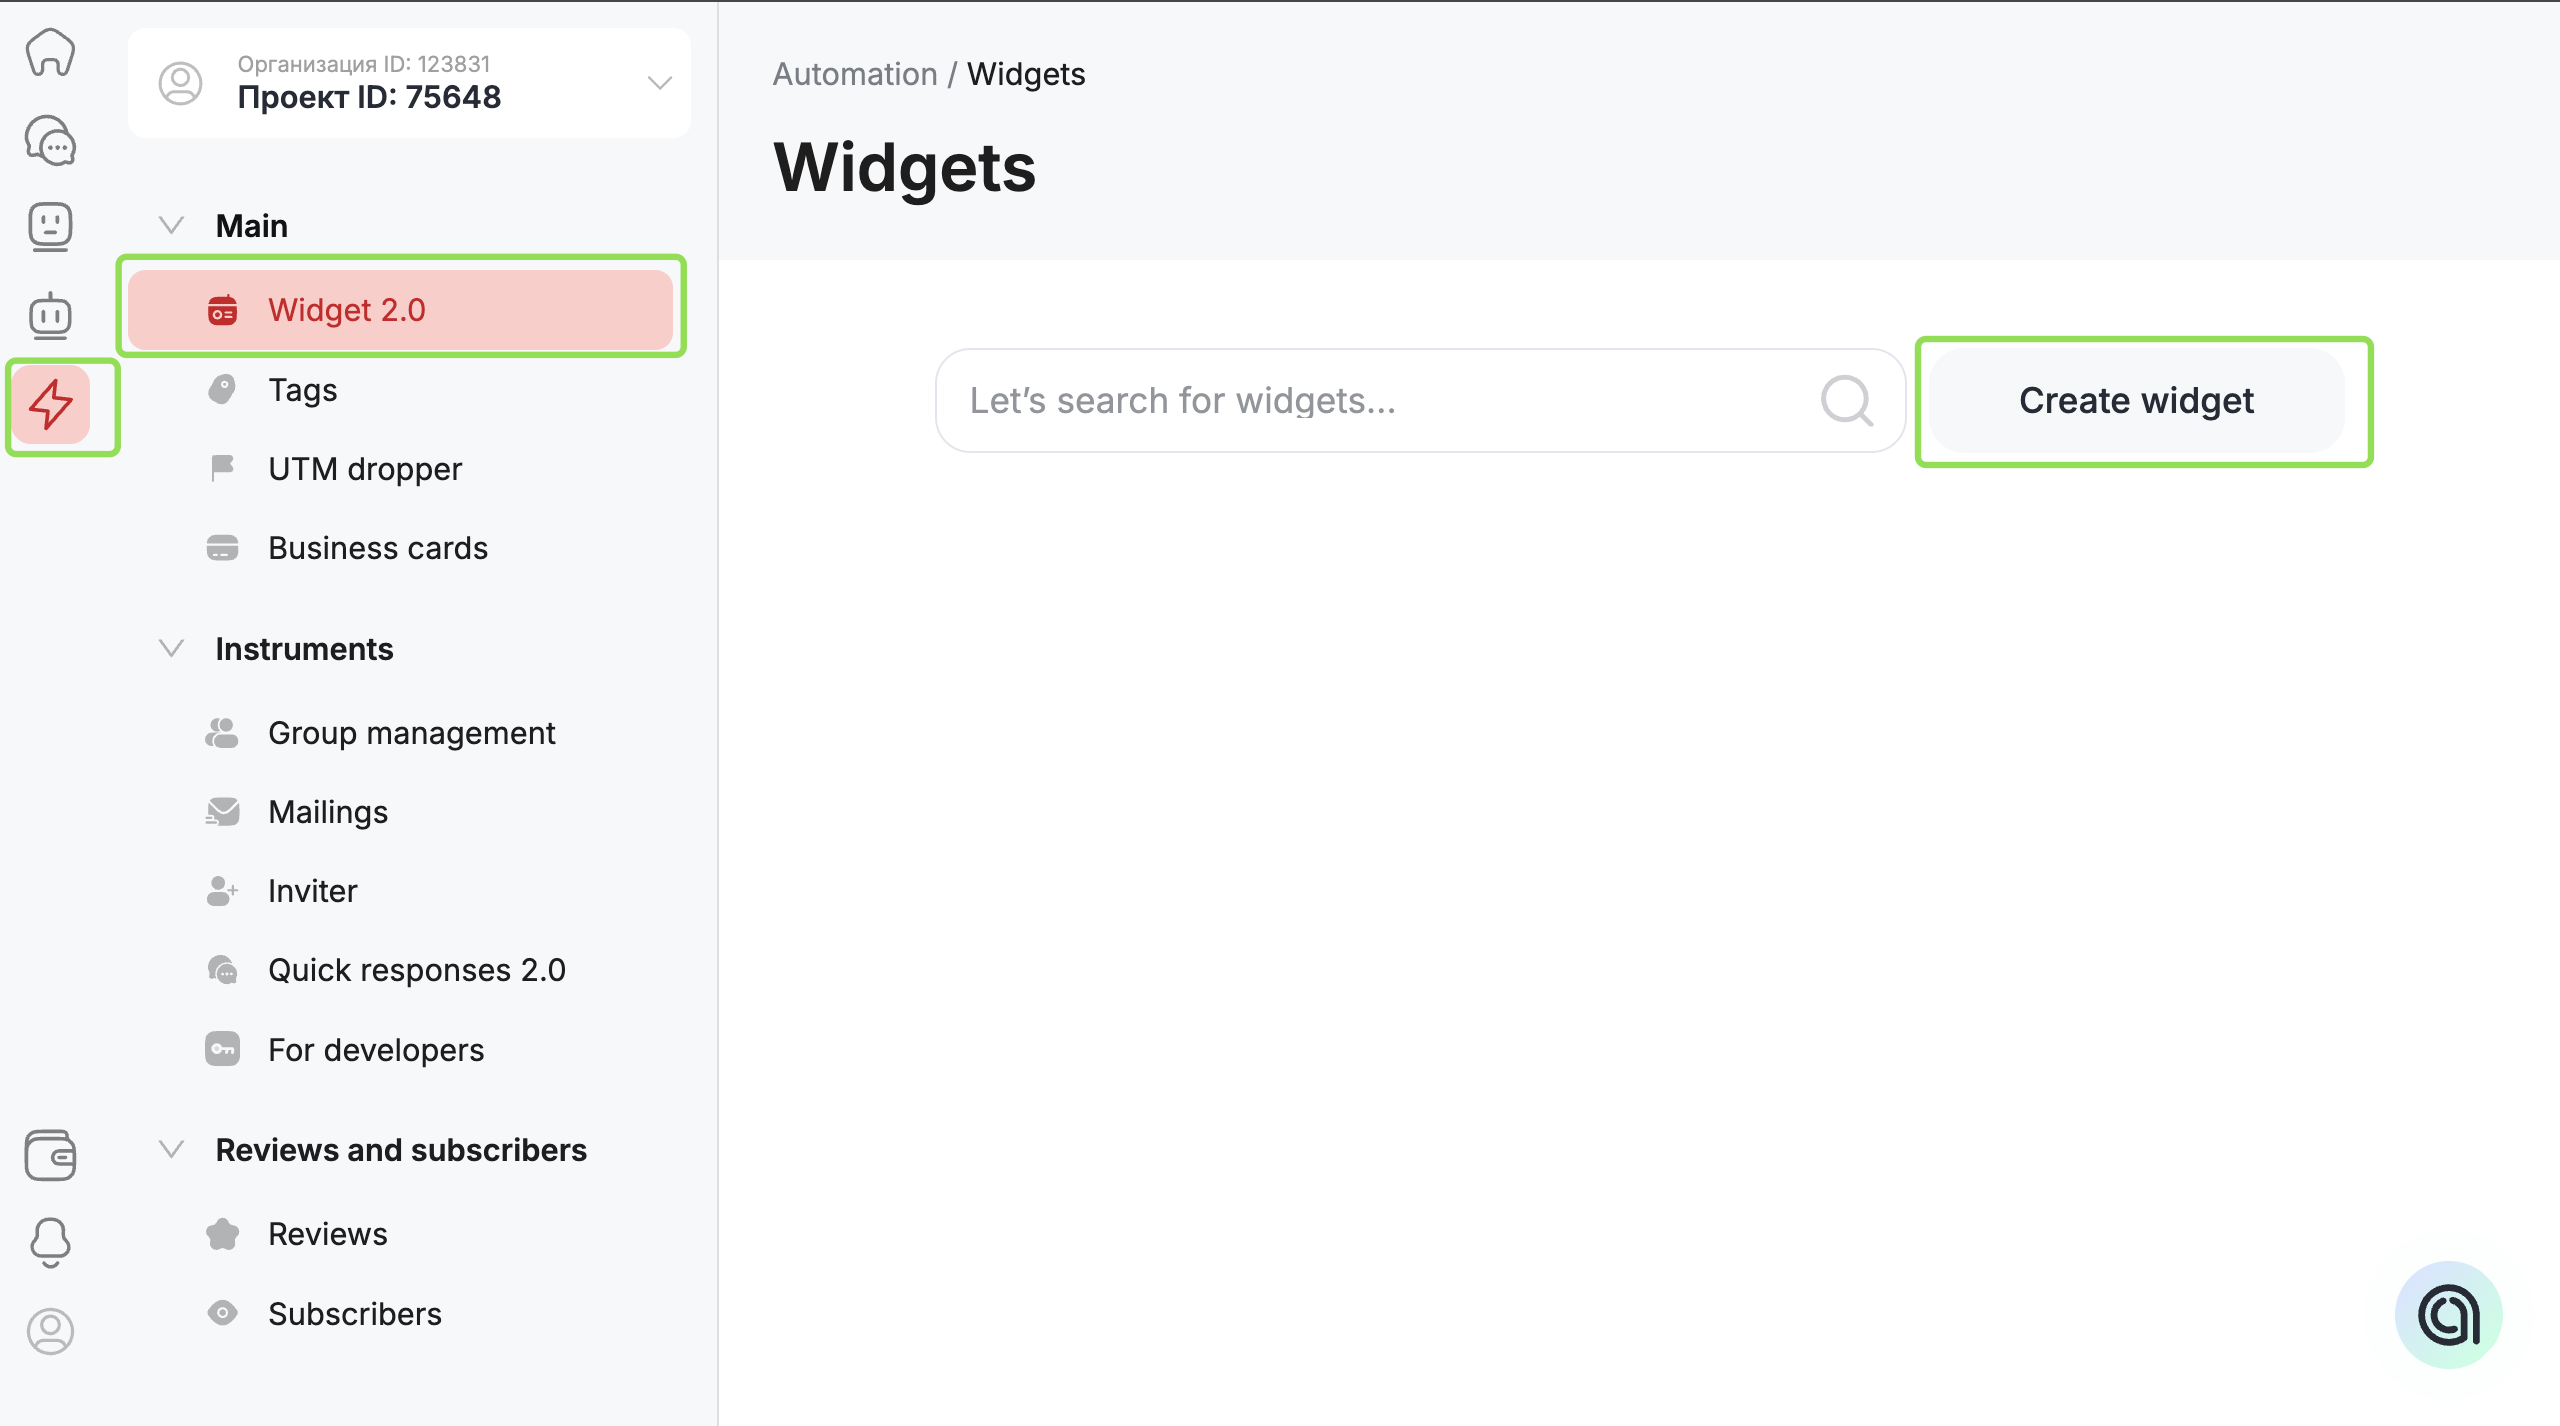
- Go to the “Automation” section.
- Select “Widget 2.0” in the left menu.
- Click the “Create widget” button.
- Enter “Name” and “Description”. This data is displayed only in the widget list and does not affect its operation.
- Enable the “Send UTM tags” option if you need to transfer tags to the personal account or CRM.
- Click “Set language” and choose the required language.
- Click “Add button”.
- In the opened window, click “Edit” and select a communication channel from the list.
- Specify the button name and insert a link to the resource.
- Enter the message text that will be sent when clicking the messenger icon.
- Click “Save”.
After saving, the widget becomes available for placement on the website.
Restrictions on text transmission
Pre-filled text is supported only for the following channels:
- WhatsApp WEB;
- official WhatsApp;
- Viber Bot.
Only the clientId parameter is transmitted. Text transmission is not supported for:
- Telegram Bot;
Note: in the “clientId” parameter, an uppercase “I” is used, not a lowercase “l”.
Standard format:
Correct format for the widget:
https://help.chatapp.online/wa-redirect/?phone=+55XXXXXXXXXX
where +55XXXXXXXXXX is the recipient’s phone number.
After following the link, the user will automatically open a WhatsApp chat.
To pass a message text, use the format:
https://help.chatapp.online/wa-redirect/?phone=55XXXXXXXXXX&text=MessageText
Example:
https://help.chatapp.online/wa-redirect/?phone=79675553103&text=Good afternoon
Any text and emojis are allowed.
- Open the widget creation page.
- Click “Position”.
- Choose the display location on the website.
- Click “Save”.
- Copy the script from the widget creation page.
- Open the website editor.
- Select the page for placement.
- Switch the editing mode to HTML.
- Paste the script before the closing </body> tag.
Changes in widget settings are applied automatically. Updating on the website takes from 5 to 10 minutes.
- Open the HTML editor or a test page of the website.
- Insert the widget script.
- Check correct display and button navigation.
- Open the “Automation” section.
- Select the “Tags” subsection.
- Select the installed widget.
- Click “Load”.
The system will display a table with collected UTM tags.
Additionally:
- export the report in Excel format;
- select the required reporting period.