

Connecting Online Chat
Online Chat allows website visitors to contact you directly from your website. All messages sent through Online Chat will appear in Scenario Dialogs.
Step 1. Purchase the Online Chat channel
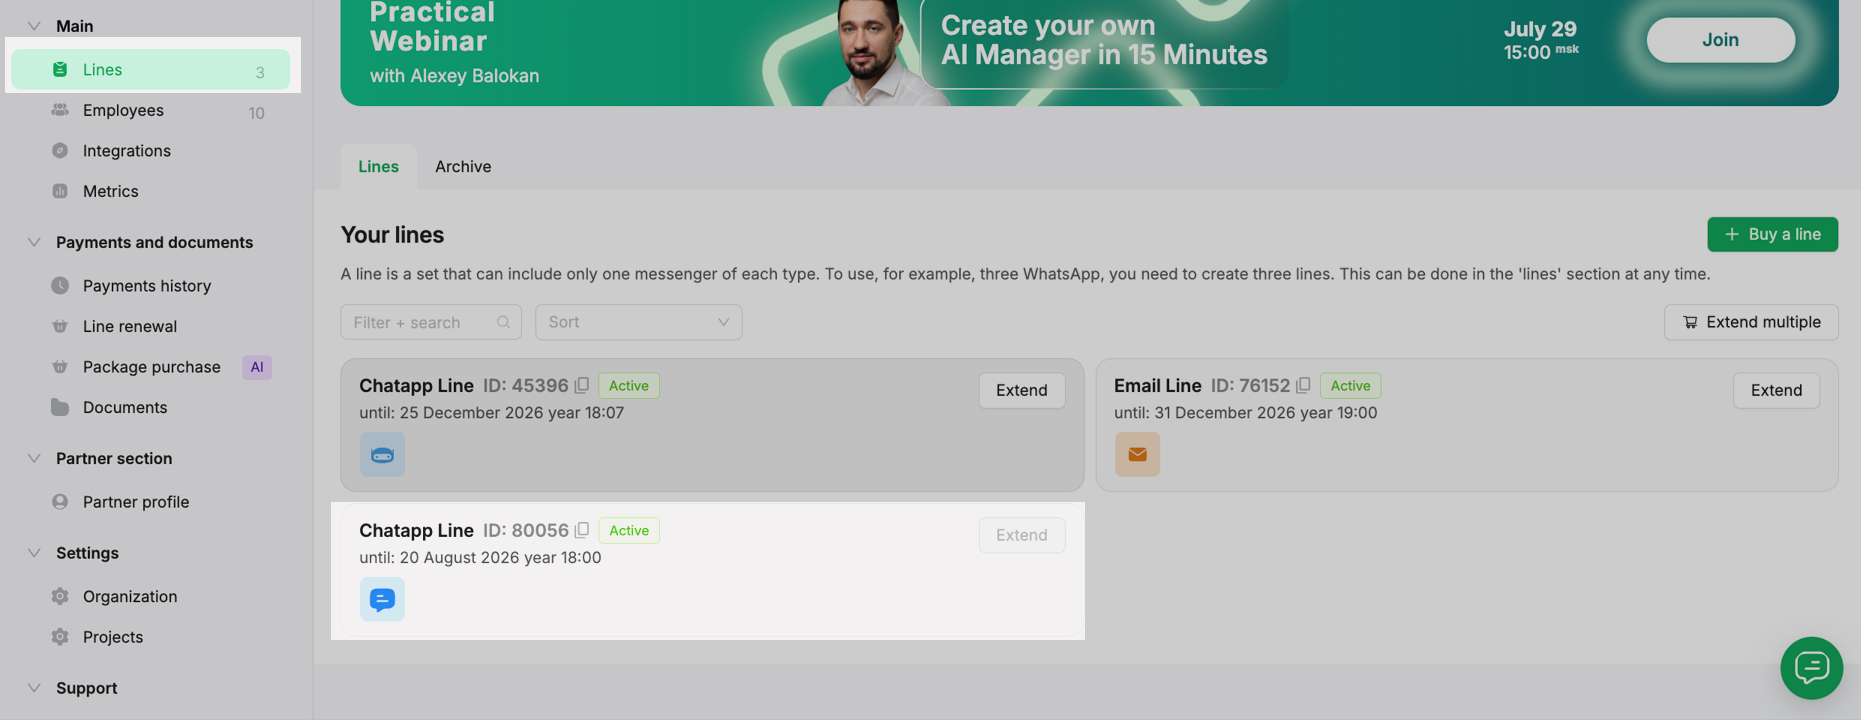
To use Online Chat, you first need to purchase the Online Chat channel. After the purchase, it will appear in the Lines section of your ChatApp account.
Step 2. Configure Online Chat
- Go to the Lines section and select the line that includes the Online Chat channel.
- Click Configure.
- Enter your website name and click Go to Settings.
- The Website Chat section will open.
- Click + Add Website Chat, then Add Channel, and select the Online Chat channel. Change the channel name if necessary.
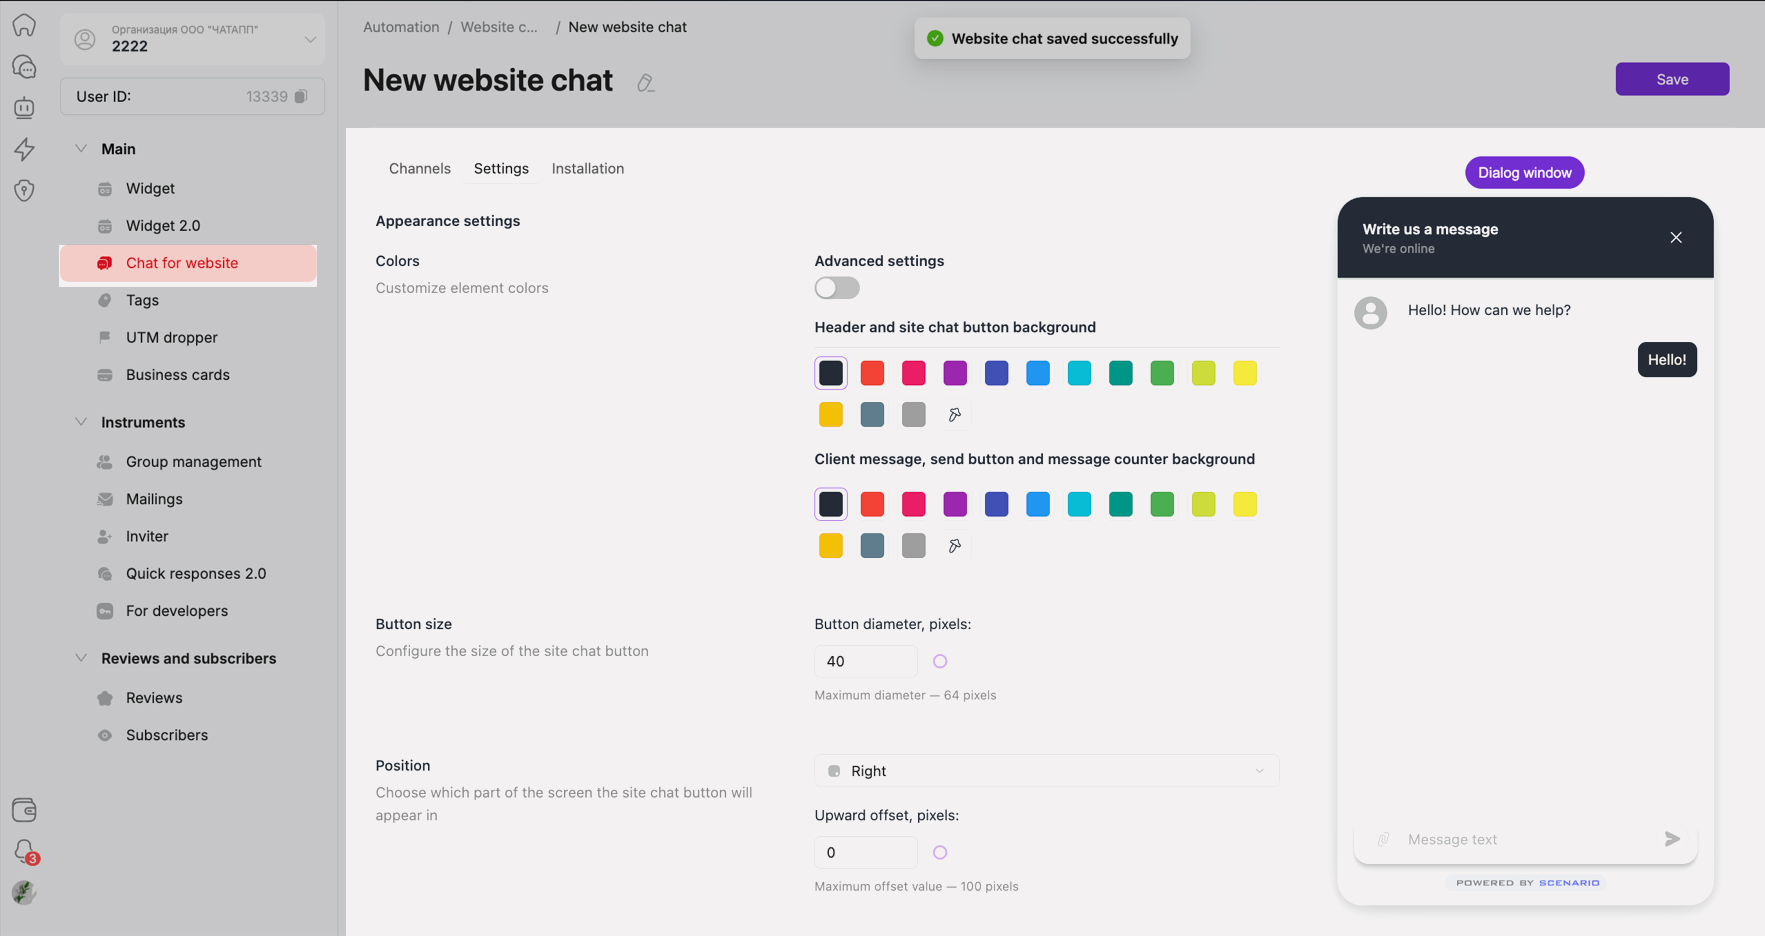
- Go to the Settings section.
You can select the standard or advanced configuration mode and customize:
• logo;
• chat title;
• greeting;
• interface language;
• color scheme;
• welcome message;
• chat invitation;
• UTM tag transfer;
• other Online Chat settings.
After making the changes, check how the chat looks in the preview window.
Step 3. Install Online Chat on your website
After completing the configuration, click Save.
❗️The installation code will become available only after you save the settings.
Go to the Installation section. Here you can:
• copy the Online Chat installation code;
• enable additional options if necessary.
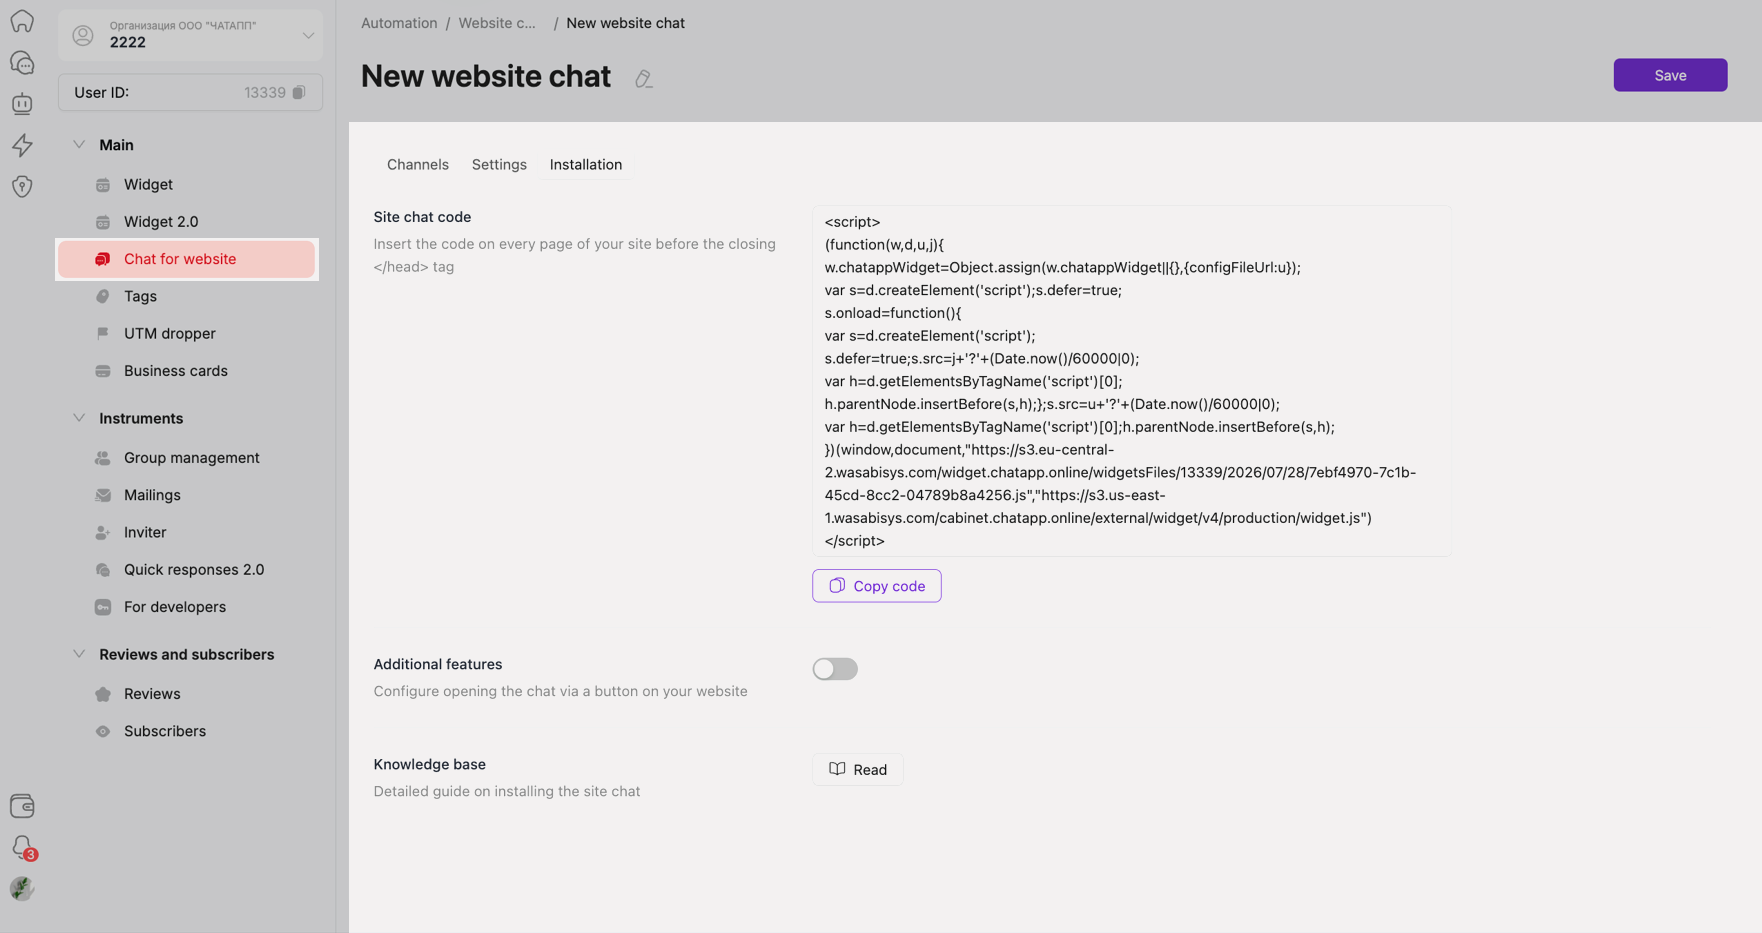
Add the copied code to your website or send it to your website developer. After the changes are published, Online Chat will appear on your website and will be ready to use.
All messages from website visitors will appear in Scenario Dialogs.
📖 Learn more about working in Scenario Dialogs.
